Continuing to Use Ranger
Now that you’re set up, here’s what to do with your transactions as they come in.
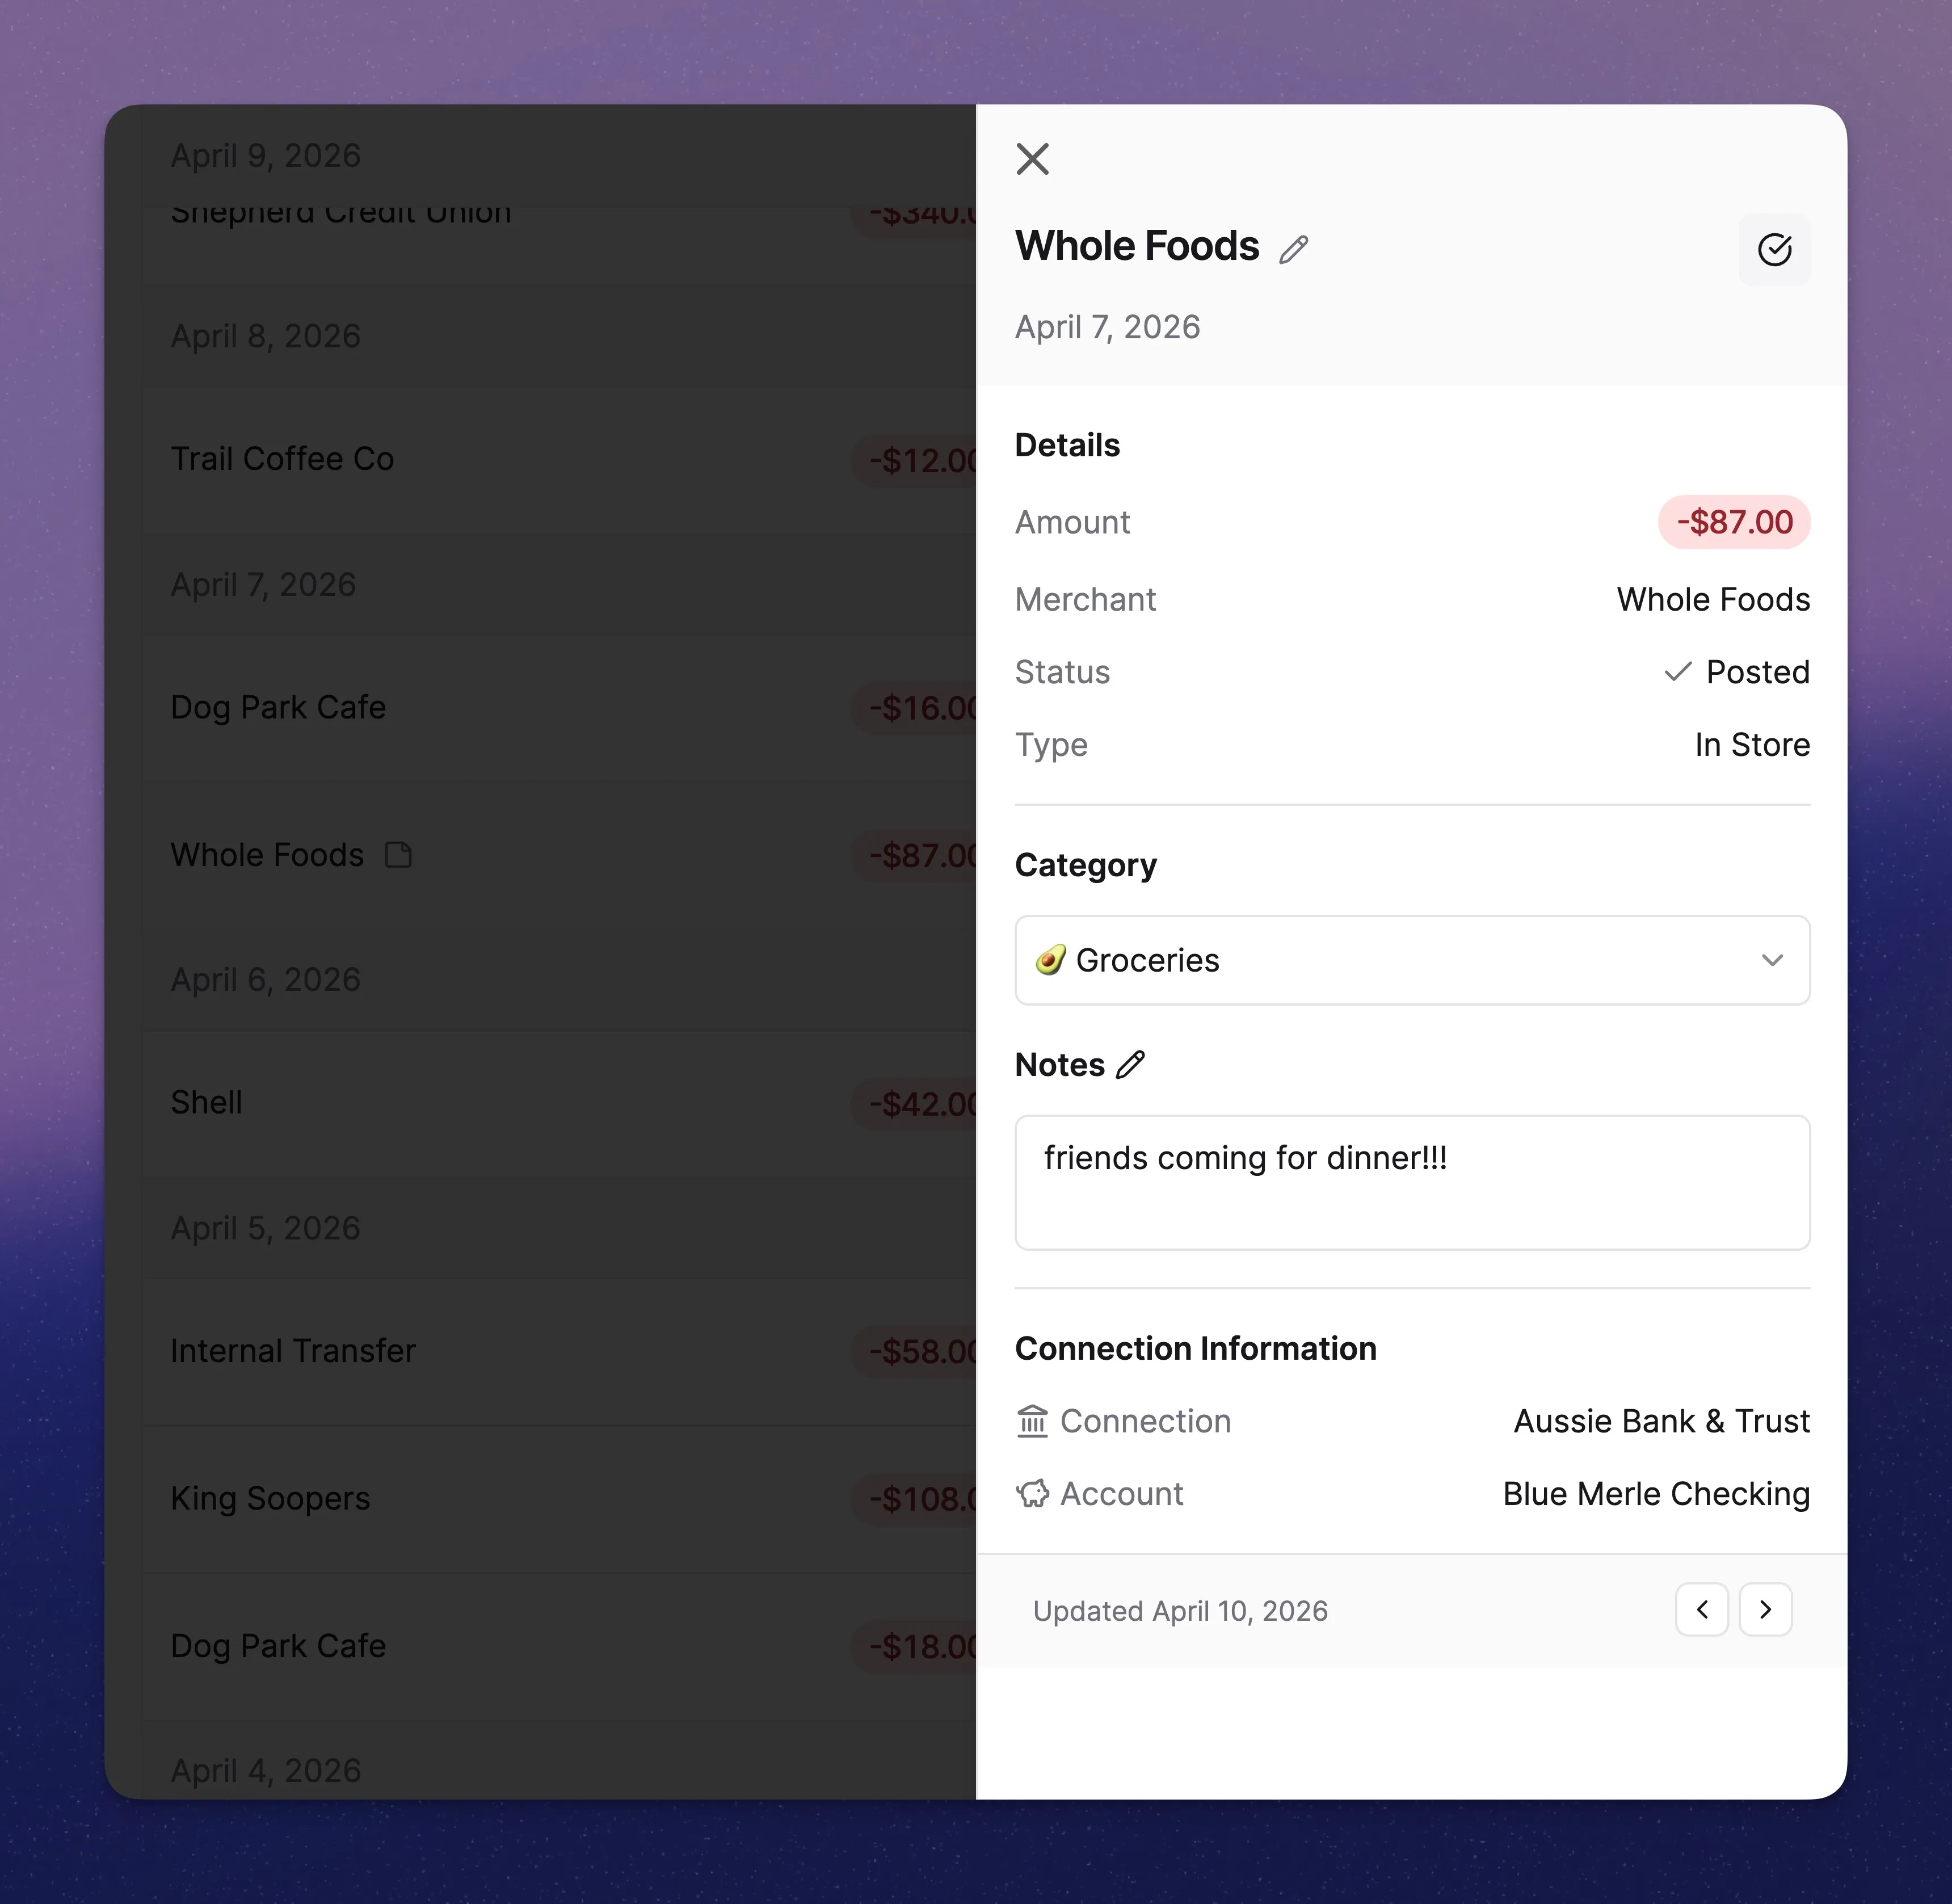
The Transactions page is where you can review, categorize, and customize your transactions.
- Edit Transaction Name – Rename transactions for clarity. For example, change
"125673 - TERMINAL A EMP"to"San Jose Airport Parking". - Add a Note – Attach reminders or details to specific transactions.
- Mark as Reviewed (or Unreviewed) – Keep track of what you’ve already categorized and edited.
- Categorize Transactions – Organize transactions into their respective categories to keep your budget accurate. (We’ll go over categorization options below.)
- Filter Transactions – View only what matters most by filtering by review status, date range, amount, or a combination of these.
💡 Pro-tip: You can type directly into the category dropdown menu to quickly find the one you need.
Categorizing Transactions
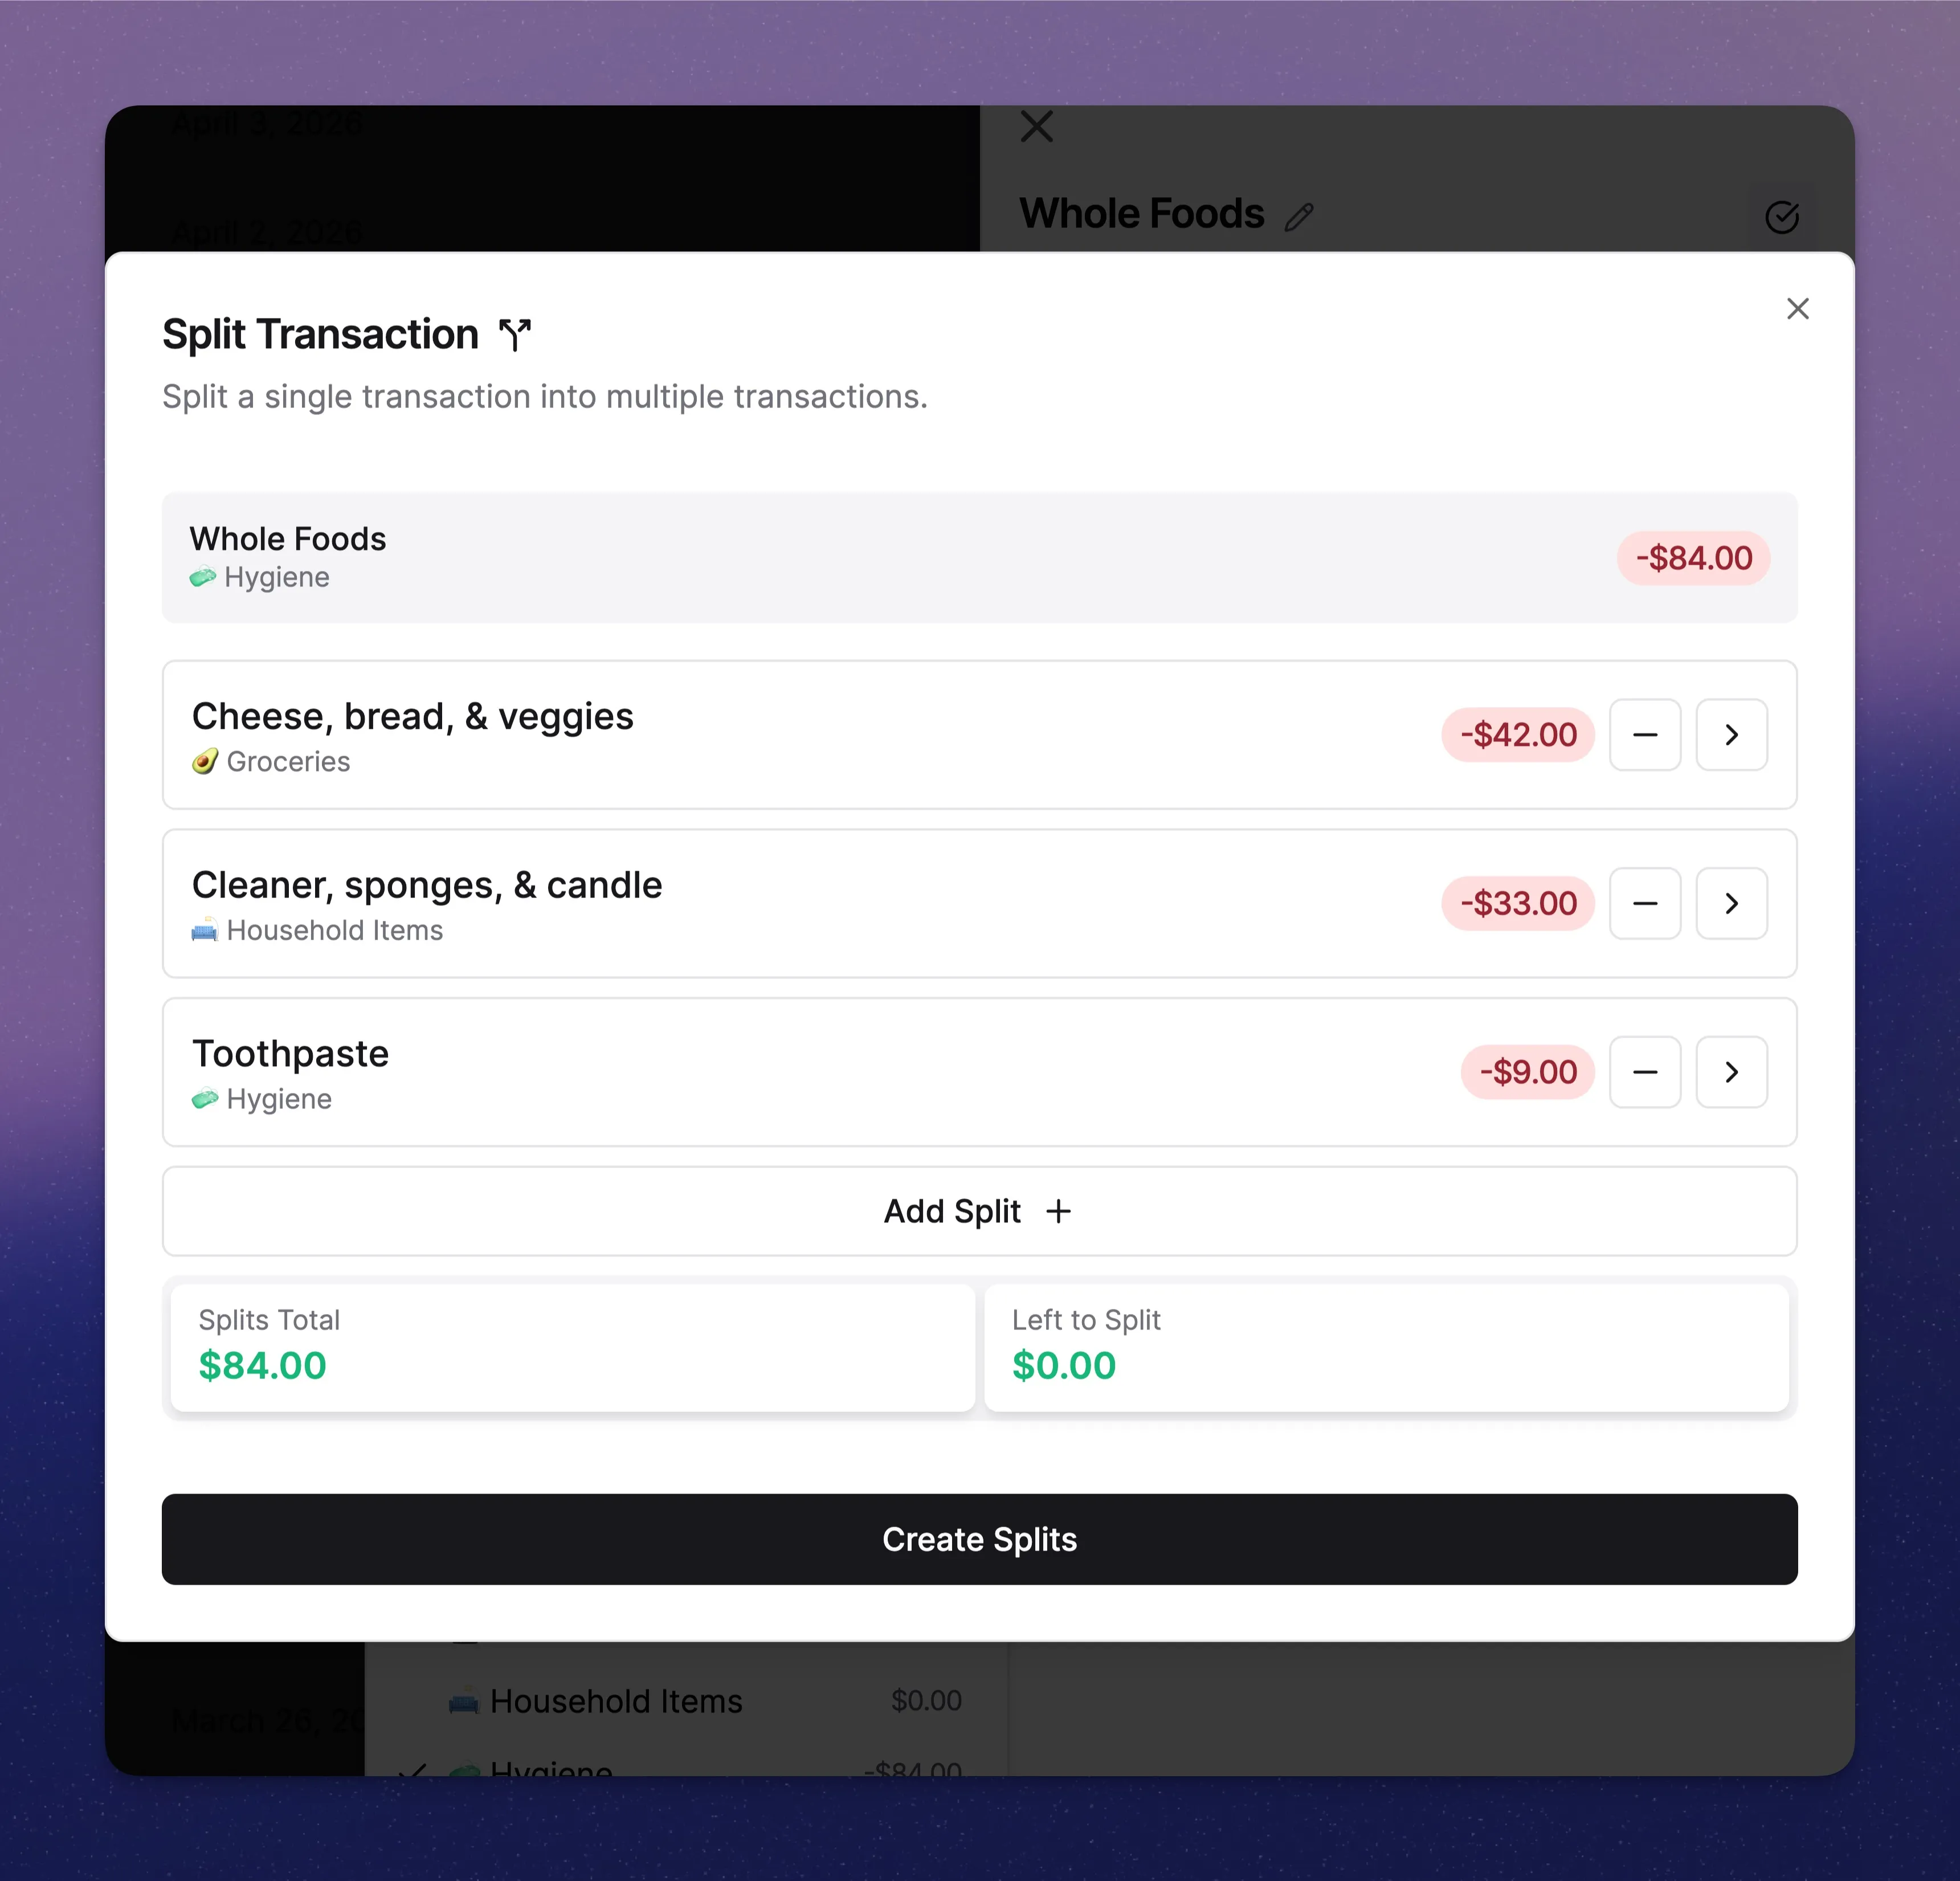
You have two ways to categorize a transaction - assign it to a single category, or split it across multiple.
Splitting is handy when one purchase covers different spending areas. For example, if your Whole Foods trip covers groceries, a candle, and toothpaste, you can split it - groceries into 🥑 Groceries, the candle into 🛋️ Household Items, and toothpaste into 🧼 Hygiene.